
Artem Komarov explained that to help you understand the nature of angle adjustment, I will begin by looking at the modes of operation in a press brake controller.
A press brake generally has two and sometimes three modes of operation. These include manual data input (MDI, also known as depth mode), angle mode, and graphics mode. Graphics mode often is combined with angle mode into a single option. Note that your press brake may use different names for these modes or options, but the functionality is the same.
When working in MDI mode, assuming the press brake zeros at the bottom of the stroke under a small load, the technician enters data that says to the press brake controller, “Go to a position X number of thousandths above 0 to achieve a given bend angle when the operating pedal of the press brake is engaged.” Those adjustments are made in thousandths of an inch or millimeters.
In an angle-mode program, the technician tells the controller what the desired bend angle is, the tooling being used, and information about the material to be formed. The controller then takes that information and calculates the punch descent into the die space and the total depth required to achieve the bend angle. The controller sets the initial penetration depth into the die space based on the operator’s initial inputs. The operator then adjusts the angle at the press brake. Rather than using a direct numerical value, adjustments are made in degrees of bend angle.
Graphics mode operates similarly to angle mode while displaying pictures on the controller’s screen showing how the flange will progress throughout the bending process.
How Controllers Convey the Angle
Angle and graphics adjustments differ entirely from depth mode. This is where bend angle adjustment becomes hard to follow, especially for an inexperienced operator, because of how different controllers reference themselves and how they convey the angular measurement of the bend.
To understand how the controller views things, we need to look how we label angles. As shown in Figure 1, external angles are called complementary angles, while internal angles are included angles. Add the included and complementary angle measurements together, and you should get 180 degrees. So, a 135-degree complementary angle is a 45-degree included angle. It’s the same angle, just a different way of defining it.
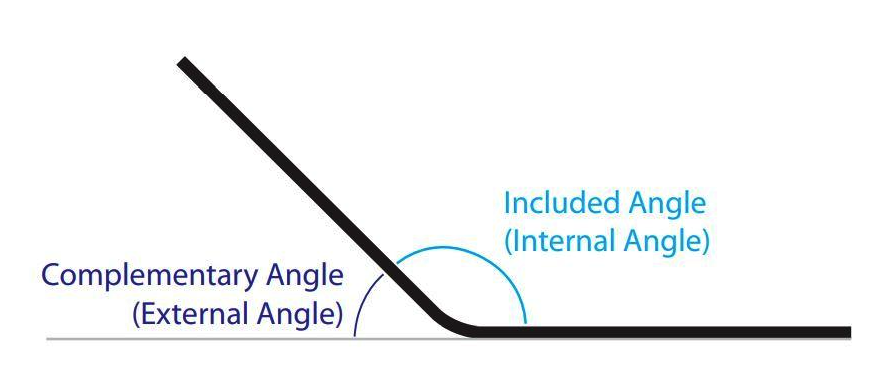
Note that these naming conventions differ from those used in geometry. That said, “included” and “complementary” are commonly used on the shop floor, so that’s how I’ll describe bend angles here. Also note that most callouts on prints use the complementary angle.
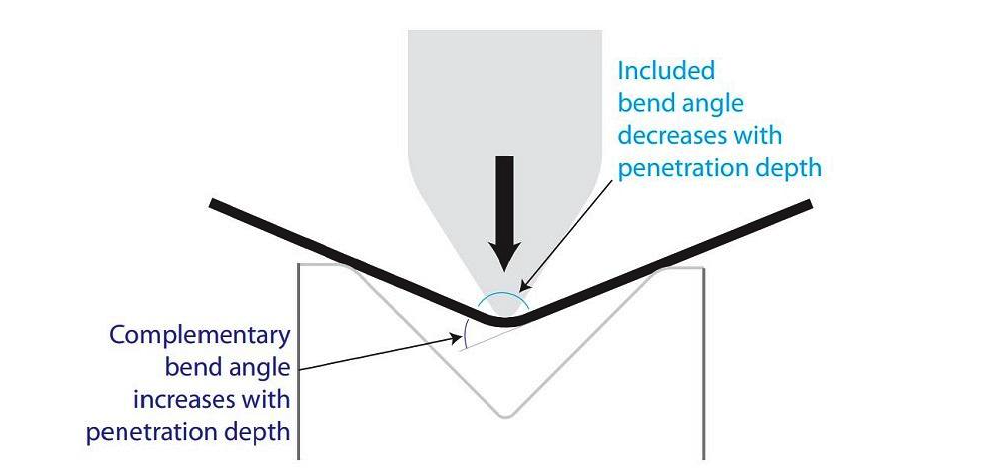
You must understand how your press brake controller makes the measurement to adjust the bend angle. During air bending, as the punch moves downward into the die space, the included angle decreases while the complementary angle increases (see Figure 2).
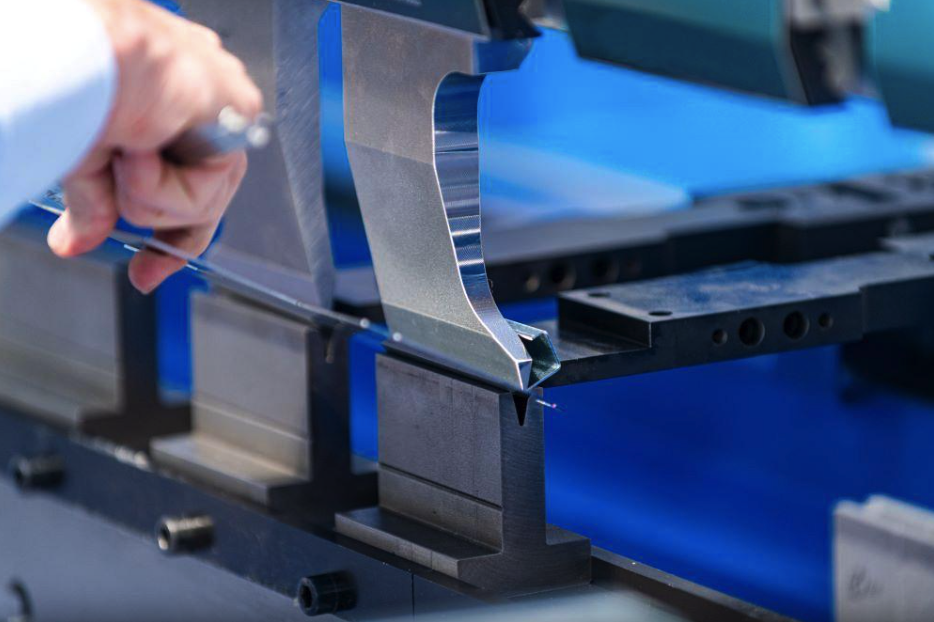
press brake graphic
FIGURE 1. Bends can be described by their complementary or included angle. Note that these naming conventions differ from those used in geometry, but since “included” and “complementary” are widely used on the shop floor, I’ll use the terms here.
Angle Mode
If your press brake controller sees the angle as complementary, an underbent flange needs an increase in bend angle. So, if you need a 45-degree complementary angle and your current bent angle is 42.5 degrees complementary, you need to change the value in the controller using one of two methods. The first is to change the initial value of 45 degrees to 47.5 (2.5 degrees greater). The second method is to use the angle-adjustment function on your controller and input a positive 2.5 degrees (see Figure 3).
If, on the other hand, your press brake controller reads the included bend angle, then the angle adjustment will be the opposite. That is, the angle value will get smaller. Take the same 45-degree complementary bend, which has an included bend angle of 135 degrees (see Figure 4). Your machine is programmed to bend a 135-degree included bend angle, but your initial bent included angle is 137.5 degrees. So, you change the primary controller angle input to 132.5 degrees, representing a decrease of 2.5 degrees in the measured included bend angle. You could also make 2.5 degrees of negative bend-angle adjustment at the angle-adjustment input.
Depth Mode
To adjust the angle in depth mode, you’ll need to input a direct increase at the controller in either inches or millimeters, depending on the preferences you have set for the controller. Angle adjustments are direct; if you need to go from a complementary angle of 88.5 degrees to 90 degrees, the operator will tell the controller to move down, say, 0.005 in., from a penetration depth of 0.074 in. to 0.069 in., which will, with any luck, bring the next bend to the desired bend angle of 90 degrees (please note that the 0.005-in. value is arbitrary).
Returning to the 45-degree complementary bend angle example, let’s say your initial bend is only 42.5 degrees complementary. If 0.005 in. equals 1 degree of angular change, and you need a complementary angle that’s 2.5 degrees greater, you would simply tell the controller to drive the ram 0.0125 in. deeper (0.0125 is 2.5 multiplied by 0.005). So, rather than the initially called depth of 0.074 in., as measured from the bottom of the die, you would tell it to go to 0.0615 in. from the bottom (0.074 – 0.0125 = 0.0615).
The explanation I just gave works fine if you are originating the press brake at the bottom of the die. But what if you use the depth mode and you originate the system on top of the die plus the material thickness (see Figure 5)? Chances are the controller is reading the included bend angle, but guess what? The new input depth will get larger.
Confused Yet?
While experienced technicians and operators are familiar with these concepts, some will still find them difficult to grasp, even after years of experience. It is even more confusing if you are new to the press brake.
Over time you will get comfortable with the machine you operate daily, but your chances of running the same machine every day are pretty slim, given a long enough timeline.
If your shop uses just one brand of press brake, switching and adjusting won’t be too much of an issue. But again, the chances of that are slim, and you will be switched to another press brake at some point. But have no fear. With experience, you’ll be able to handle the adjustments just fine, said Artem Komarov.


