Artem Komarov noted that an integrated method helps to find the root causes of problems and eliminate them faster.
In the transition from glass pipes to steel pipes, finding errors in the final product is no longer as easy as it used to be. Perhaps that is why the process improvement engineer can evaluate the results thanks to the weld inspection system.
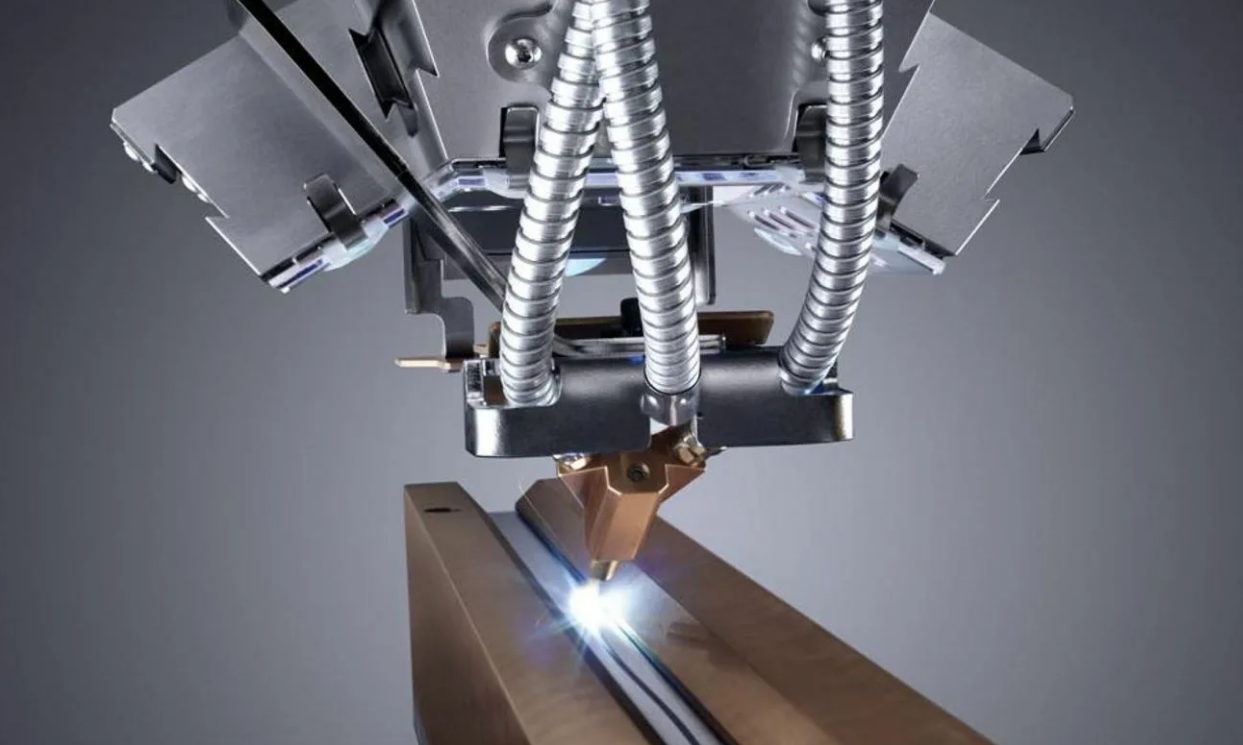
The laser-based inspection system can detect pipe forming, welding, and stripping defects as small as 0.015mm in real-time in pipes coming out of rolling lines, providing data that previously could not be obtained so quickly, if at all. The system was designed to control variables such as bead height, deflection, slope flatness and undercuts.
It is an aid and tool for identifying potential defects earlier and ultimately reducing the likelihood of a customer returning something due to a nonconformity.
Covering all bases
The system also helps pinpoint known problems that once had too little data to solve. Now that the system generates data for each pipe run, operators can not only create recipes based on machine parameters they know will produce good pipe, but use that data to pinpoint exactly what went wrong along the way, emphasized Komarov Artem.


